❖Click on Survey.

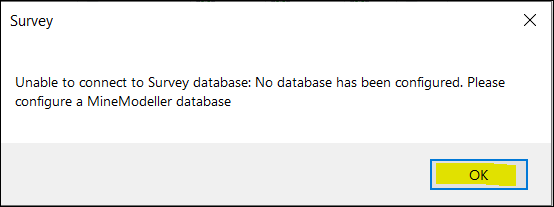
❖If you haven’t configured a database, the following message will come up. Click OK.
(The database we will be configuring in this example is Underground Surveying)
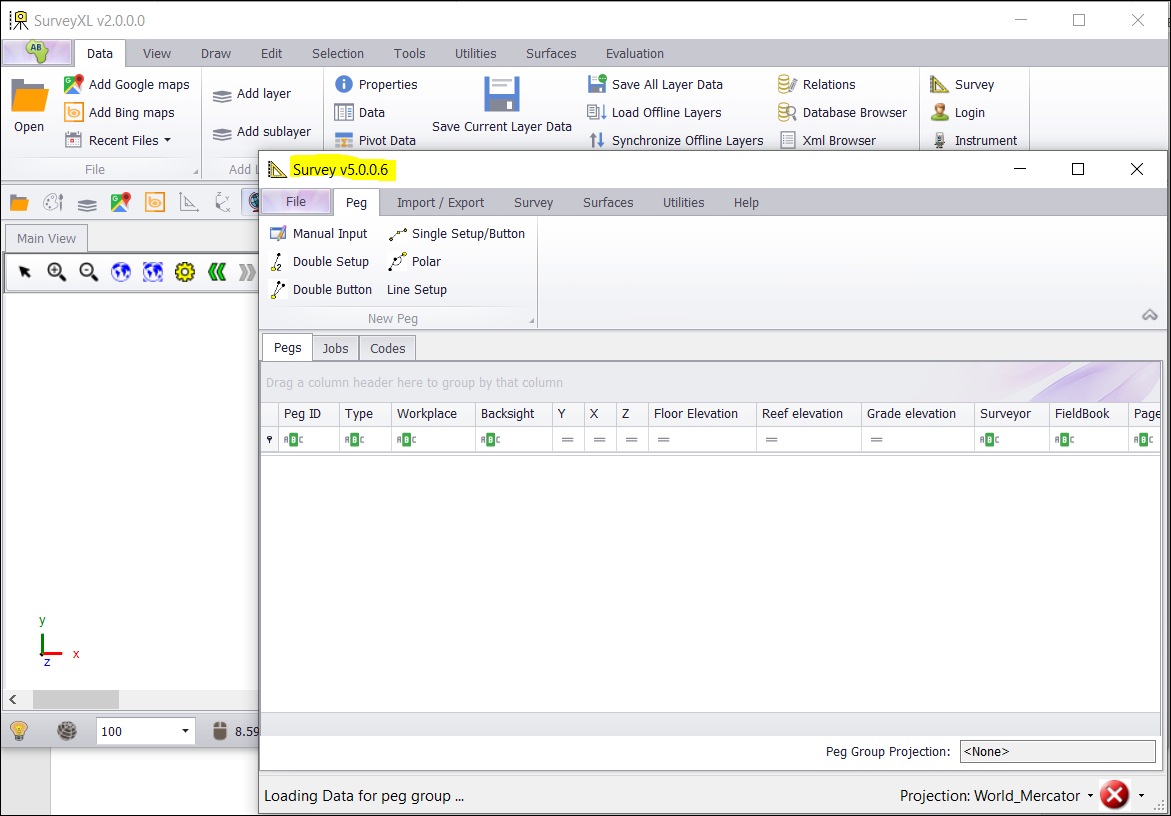
❖Your Survey window will now show. Go to File and Settings. This is where you will need to configure your database.
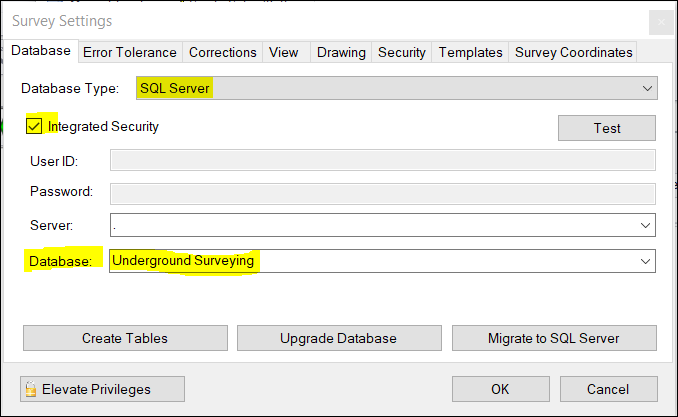
❖Choose SQL Server (You should use SQL Server as it works best – download and install it along with Microsoft SQL Server Management Studio if you haven’t already)
❖Use Integrated Security if this is set up, otherwise enter in your credentials.
❖The Server is my local machine. This is the default which is represented by a period.
❖I have already set up an empty database in SQL Server named Underground Surveying. I have also typed it in above.
❖You can test your connection to the database by clicking Test. If your connection is successful a window will pop up stating the fact. Click OK.

❖Click on Create Tables now.

❖In this case it will create Underground Survey tables as stated previously.
❖Click Yes.
❖Your Underground Survey database has now been created.
❖Go to the Codes tab. This is where we will set up the Peg Groups, Peg Types, and Workplaces. (Note: To use MineModeller you need to specify at least one Peg Type and at least one Peg Group.)
❖Select Peg Groups tab first and click on Make Changes. Type in the Group Code and Group Name that you want for your pegs.


❖When you are done click on Save Changes – ProjectionWKT is set at <None> by default. Your pegs will project on the fly to your scene projection. (You can set the pegs projection to the same as your scene projection to ensure everything is always displayed correctly.)
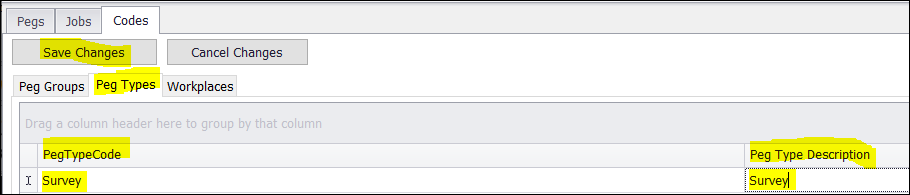
❖Next is to select Peg Types and click on Make Changes. Type in the Peg Type Code and Peg Type Description for your pegs. Click on Save Changes when you are done.
❖Next is to select Workplaces and click on Make Changes. Type in the Workplace ID and Workplace Description. Click on Save Changes when you are done.
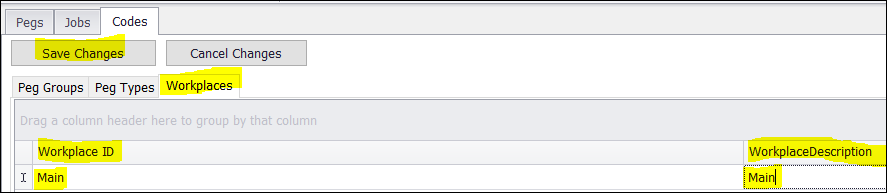
(Note: If you have Workplaces in the data that you would like to import then you wouldn’t need to manually do this step, because Workplaces will be automatically created for you.)
❖All is now set up. You have an option of manually entering pegs or importing pegs from a CSV File. You need at least 2 pegs to continue surveying new pegs.
❖Go to Manual Input. I am going to import pegs from a CSV File by clicking on Import.

❖Once you have browsed to your CSV File and click Open, a window will come up called Choose columns for peg import.
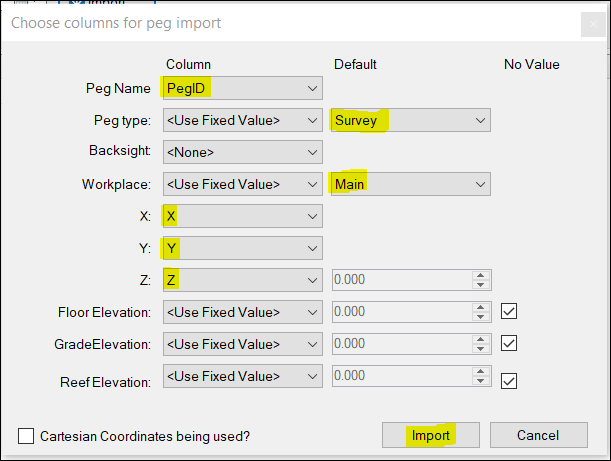
❖You will see that the columns from your CSV File are populated here – PegID, X, Y, Z. There are no Backsight pegs, nor other fields in the CSV File. <Use Fixed Value> is populated for the other fields. I previously set up my Peg type and Workplace as you see populated in the fields above.
❖Click Import.
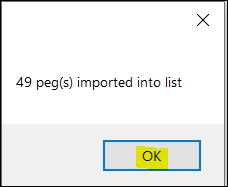
❖You will get a message indicating how many pegs have been imported. Click OK.
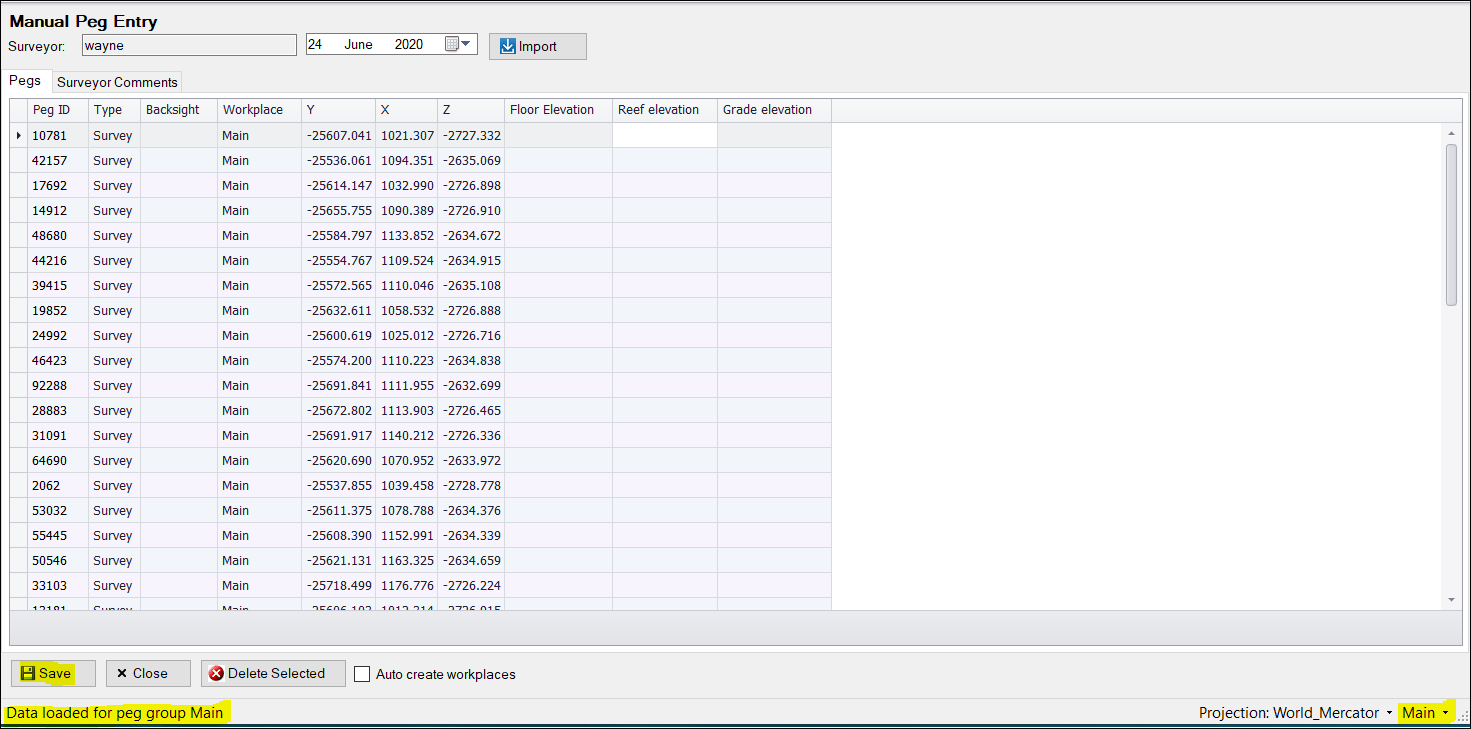
❖All your pegs are now populated in the Pegs Tab. You have an option of deleting pegs if you need to by clicking Delete Selected. Have Auto create workplaces ticked on if you don’t have workplaces that exist automatically.
❖You will also notice that a pre-set-up peg group had been created named Main (see bottom of window highlighted above.) – this is the group that your pegs will be imported into. If other peg groups existed, you could choose the peg group that you wanted your data imported into.
❖Click Save. Your peg data will now be saved to your Underground Survey database that was created. At the bottom of your window, Peg processing complete will be displayed.
![]()
❖Before any surveying is done, there are some settings that should be set up to ensure all parameters are considered.
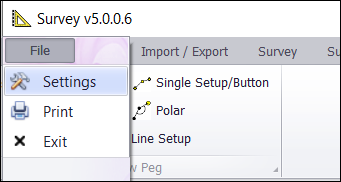
❖Go to File and then Settings.
❖Select the Error Tolerance tab.

❖To set Error Tolerance, you have to be a member of the Configured Survey Administrators Active Directory group.
If you are not a member you can get someone with the authority to make allow these changes by clicking the Elevate Privileges button.
(Note: If it is a first-time installation, the Survey Administrators Active Directory group has not yet been set so anyone can make these changes. To secure MineModeller you need to enter a valid Active Directory group, after which when the settings are saved, only members of that group will be able to change important settings.
❖Go to your View tab.
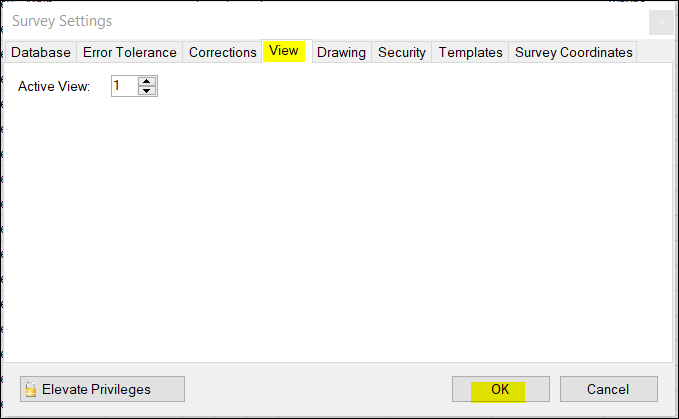
❖This is the active view number in MicroStation that MineModeller will use when plotting pegs. 1 is the default setting.
❖Go to the Security tab.

❖Type in the Survey Admins AD Group Name. You can test the connection by clicking Test. (Note: If a Survey Admins AD Group Name has not been set up, anyone can change these settings without putting in a name.)The above are the default settings. They can be adjusted as need be.
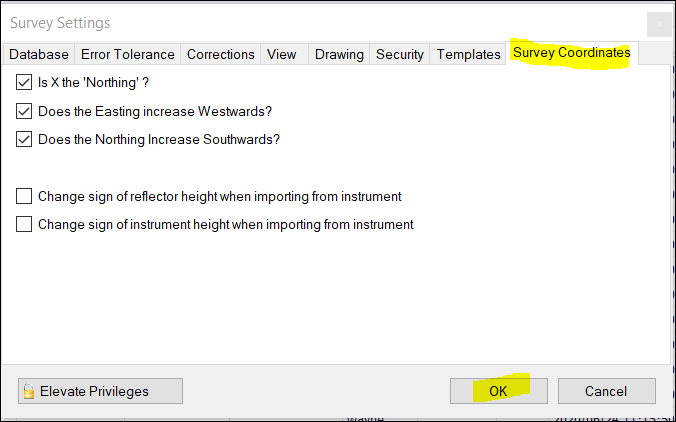
❖Go to the Survey Coordinates tab and adjust any default settings as need be. Click OK when you are done.
❖All your Survey Settings are now complete.